
Treatment Plans
A treatment plan starts from a scan: you choose the areas to treat, pick treatments from your portfolio and schedule them in sessions. Progress is later measured against the scan the plan was built on.
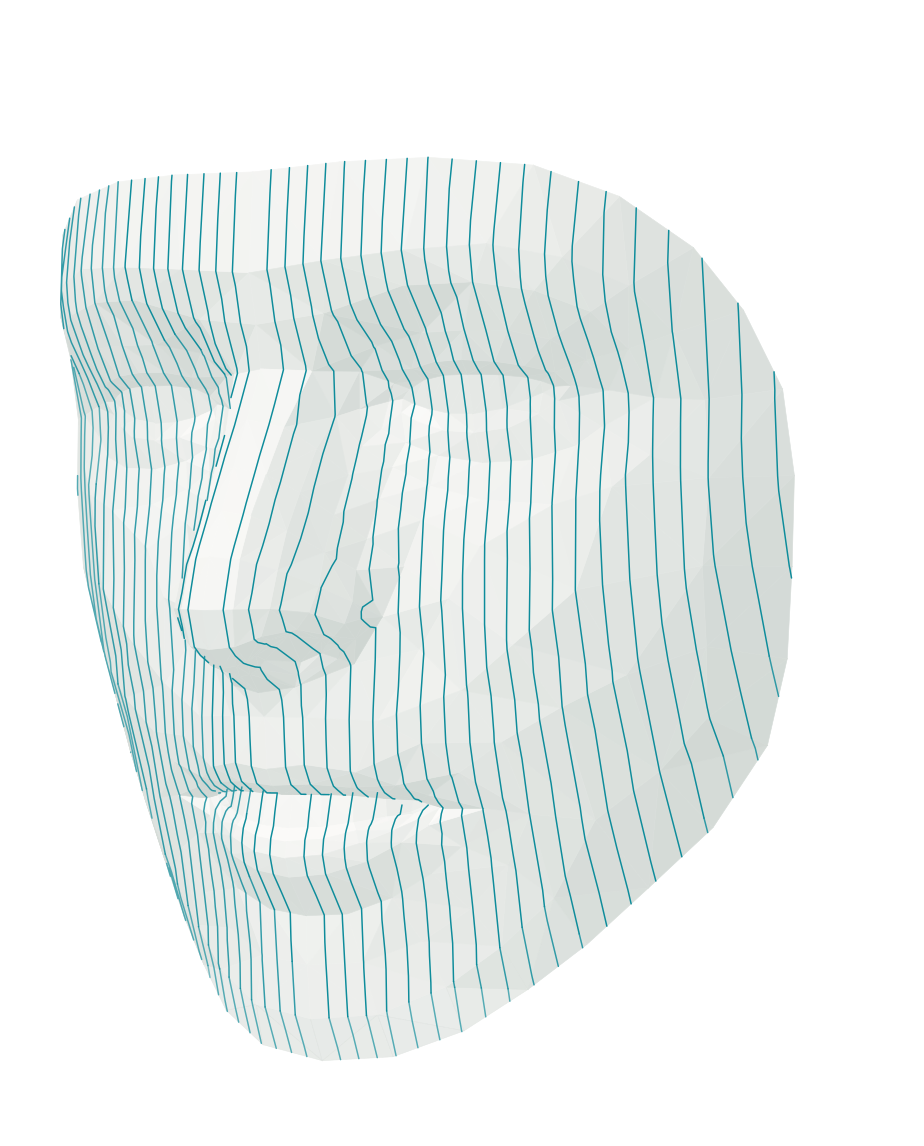 Midface and Tear Trough VolumeCrow's FeetNasolabial Folds
- Session 1Midface and Tear Trough Volume
- Session 2Crow's Feet
- 01
Start a plan
Open a scan's results and scroll to Treatment Areas, or click 'Develop treatment plan' next to the key drivers. From the patient's list of treatment plans you can also start a new plan and choose the scan it is based on.
Where in the app
Patients › patient › View results › Treatment Areas - 02
Choose treatment areas
Select a region on the face to add it as a treatment area. Each area shows its potential, so you can prioritise where treatment makes the biggest difference. Add treatments to an area from your treatment portfolio, and show or hide the overlay to see the face clearly.
- 03
Schedule sessions
In the Treatment Plan step, add sessions and drag treatments into them. Treatments that are not yet in a session are counted until everything is scheduled, and each session can have its own date.
- 04
Let Caarisma AI draft it
Where it is switched on, the Caarisma AI button generates treatment options for every area — or a complete plan including sessions. Review and adjust everything it proposes before you keep it.
Tip Generate first and refine afterwards: generating again replaces the options already in the plan.
- 05
Save, review and share
Save from the toolbar; a check mark shows when all changes are saved. Open the Summary for an overview of the whole plan and export it to hand to the patient. The plan list in the toolbar shows every plan for this patient, across all scans.
Try it in your own practice
Set up your practice in minutes, add your first patient and read your first analysis today — or let us walk you through it.
14 days free · Cancel anytime · Hosted in Germany